— —
We will annihilate our enemy with sharp steel and cold hearts. The weak will die so that the strong prevail, and no one will be spared. Then and only then will our enemies know the true meaning of fear.
- Witch King Malekith
Tactics
In this section of the guide I will write some basic principles that can always be useful in winning a battle. They are not - and do not purport to be - a complete manual on how to handle every situation, but rather a little help for those new to the Total War series and have not yet made the call with the fundamental logic of the game. More tactical details will be provided in the pages dedicated to the individual playable factions.
General principles
Defensive or offensive play
Depending on the situation, it may be more advantageous for you to try to play the game more or less wait-and-see. This does not just mean adapting to who is considered attacking and who is defending (if the battle timer expires, the attacker automatically loses), but considering your own and the enemy's armies, and determining who would benefit most from delaying the fight. in close combat.
Usually, those with the greatest shooting strength have all the advantages of waiting for the opponent: this means that if you have many shooters you should adopt a defensive training aimed at favoring their fire and protecting them from hand-to-hand combat. you have few or none, once you are in range the engagement must take place as quickly and violently as possible, in an attempt to break the opposing formation and immediately threaten the shooters.
Paper, scissors and stone
Each unit tends to have its own "favorite enemy". In Total War: Warhammer, the old paper, scissor, and rock mechanism (infantry, spears and cavalry) has partially broken down, but being able to bring the right units against the right enemies can still make a difference. There are two main factors to pay attention to: Armor / Penetration, and Bonus against large infantry / units
Armor in Total War: Warhammer is a very important element: a unit with little penetrating force of hits (less than 10-15) will almost never win a fight against a heavily armored unit (75-80 or more than Armor), regardless of the rest. For this reason it is absolutely essential to be equipped with something with strong penetration (such as units with large weapons, shooters with arquebuses or melee monsters) and to use it as soon as possible against the enemy's armored units.
The Bonus against infantry or large units is another factor that should not be underestimated. Even an apparently fragile unit of spearmen can withstand the impact of the charge and then cause severe damage to cavalry, monstrous infantry and low-armored monsters, and halberdiers will almost always win a duel with them; conversely, spearmen and halberdiers tend not to be very effective against non-specialized infantry of equivalent level, on which it would be better to send tanks or other units with bonuses against infantry or simply high damage to the area.
The effectiveness of many units is relative. A heavy cavalry unit is potentially devastating when thrown on light infantry, but is utterly slaughtered if blocked in a prolonged fight against large weapons or, worse still, halberds.
Face enemies from one side only
All units get into trouble if they are engaged in close combat on multiple sides at the same time, mainly suffering severe misuse to Leadership. Taking a flank or rear engagement can be problematic, but as long as you are engaged on a single side the situation is easily recoverable, with the ideal rotation of the unit towards the enemy and the end of the bonuses once a few seconds have passed. It would therefore always be better to fight the enemies on your front from the first moment, but the really important thing is not to remain closed in a fight from multiple sides.
Occupy the highest position
If possible, it would always be better to position yourself on raised ground. In addition to some material advantages (such as a better arc of sight for shooters), fighting on a vertical drop actually benefits higher-positioned units to some extent in terms of hand-to-hand combat mechanics. Being on a hill also allows you to accumulate more momentum during a downhill charge.
Some basic tactics
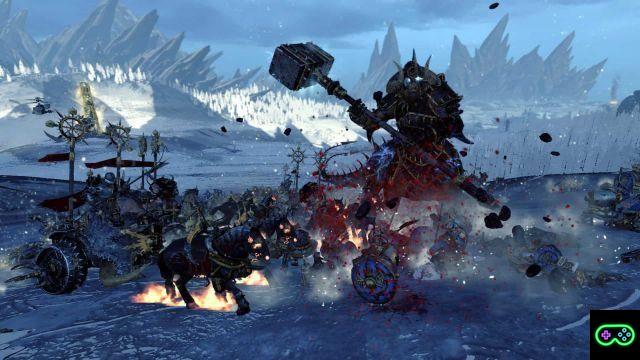
Anvil and hammer
Ideal composition: at least half of the army in Resistant Infantry, at least one third in Heavy Cavalry or Monstrous Infantry, the remainder in Specialized Infantry, Shooters or Monsters.
Effective against: armies not very mobile.
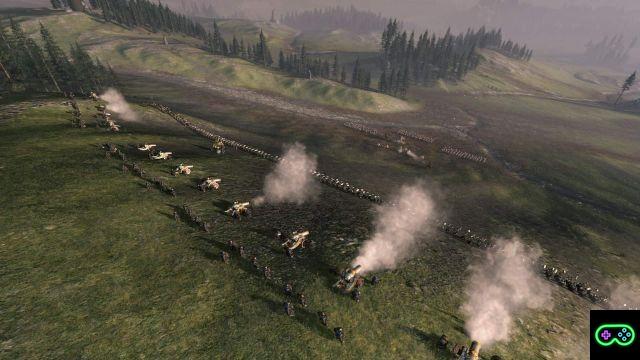
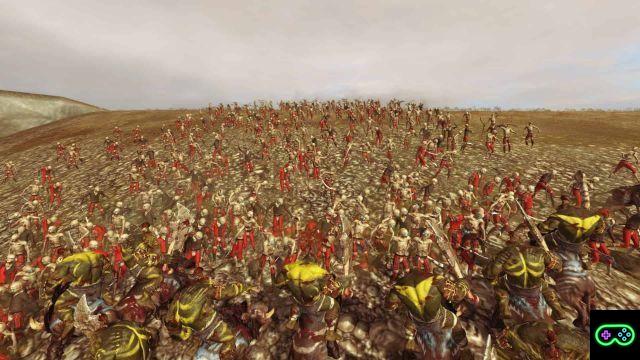
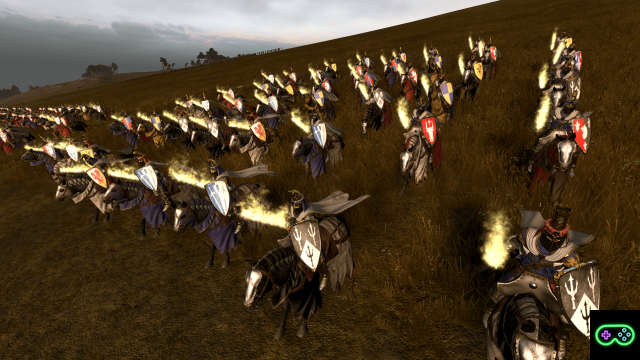
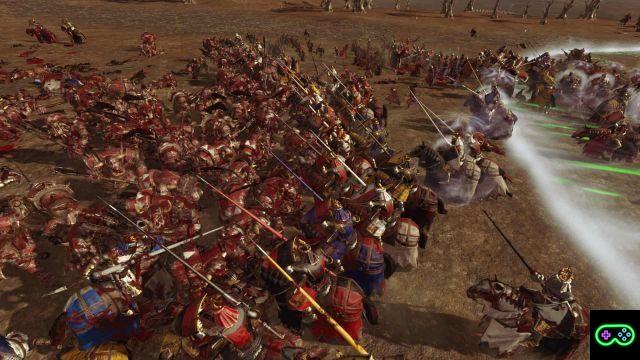
The so-called “hammer and anvil” tactic is particularly effective for winning large hand-to-hand fights, and if done well, it could get you the better of units nominally stronger than yours. The maneuver is based on two simple phases: first block the opponent in a close combat against your units best suited to withstand a prolonged combat, and then counter-charge the entire line on the flanks and the rear with units from the great impact (cavalry, chariots, monstrous infantry or monsters). The combination of formation loss, encirclement, and high damage build-up causes a massive hit on the Leadership of units trapped in the maneuver, usually leading them to flee a fight that, if continued, might even have won.
The greatest risks of this tactic derive from facing an opponent with infantry of a good level and numerically superior to yours, who could be able to encircle you at least partially before the completion of the maneuver, greatly reducing its effectiveness and potentially putting your cavalry at risk. in a protracted confrontation. Of course, the hammer and anvil is also very difficult to operate against a highly mobile army, largely made up of cavalry and war beasts.
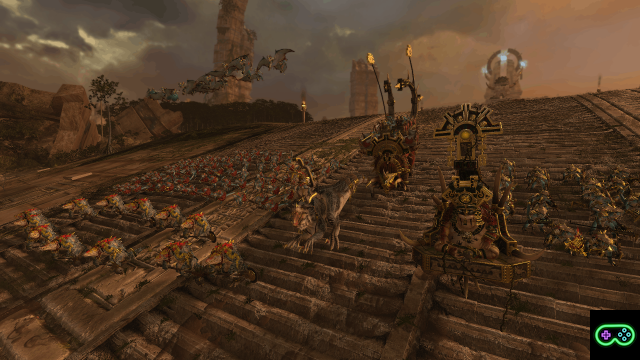
Example of anvil and hammer maneuver performed by Warriors of Chaos against soldiers of the Empire.
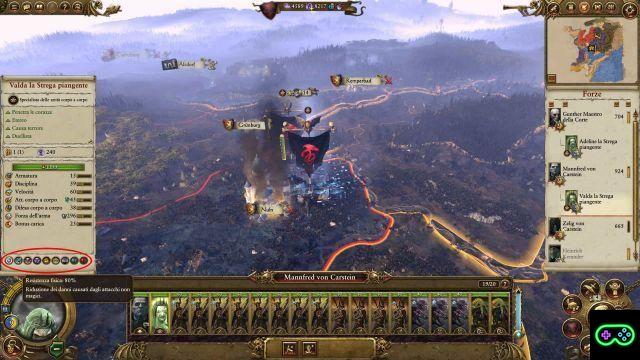
Infantry shield
Ideal composition: at least one third of the army in high level shooters and artillery, at least one third in resistant infantry, the remainder in spearmen or halberdiers.
Effective against: balanced armies.
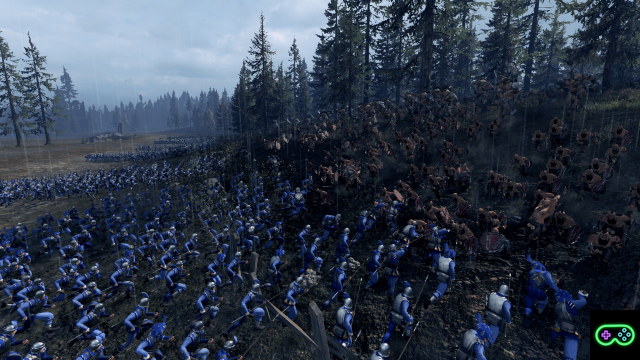
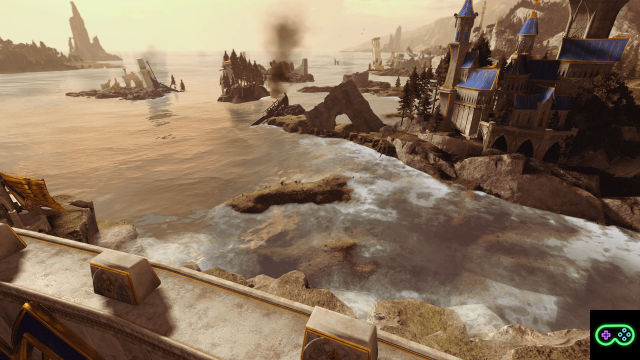
An army based heavily on static shooting will need a strong infantry component to protect the shooters, and give them time to cause sustained damage to the enemy army. For this reason, it is always advisable to try to create an infantry barrier to protect the shooters, who in most cases will still be able to continue firing (albeit with some penalties due to bad visuals) on the enemy front engaged against yours. To handle any more mobile units than the opponent, which could easily bypass your infantry wall, it is good practice to keep a small number of spearmen or halberdiers to protect the other three flanks of your group of shooters.
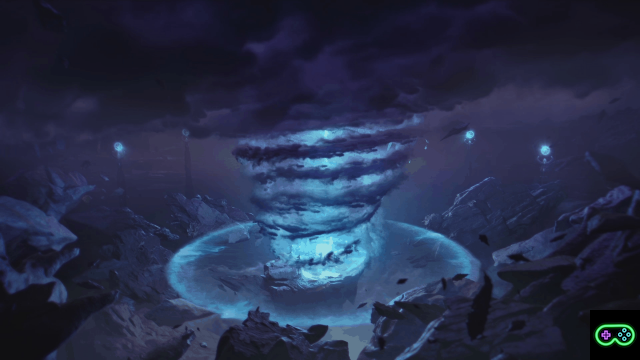
This tactic usually fails if the enemy also has strong shooting power, or if they manage to encircle you and break up your formation, destroying the shooters and leaving your relatively few infantry unsupported.
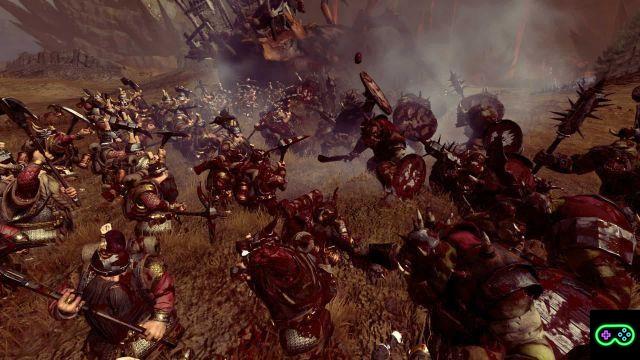
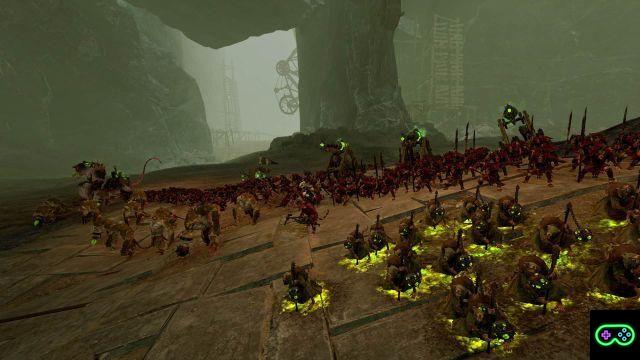
Hit and run
Ideal composition: at least one third of the army in Mounted or Chariot Shooters, at least one third in Cavalry, the remainder in Monstrous Infantry or Monsters.
Effective against: practice with little shot.
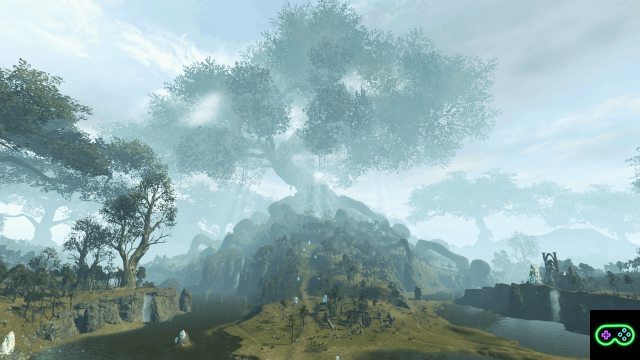
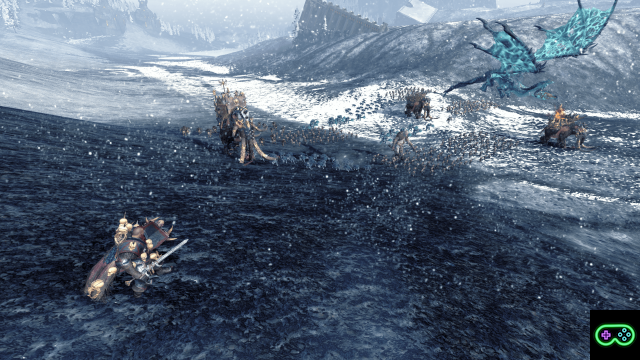
Producing a highly mobile army can put an opponent with limited range capabilities in serious trouble; if it opens to try to engage you you can easily isolate some units, eliminate them or seriously damage them with a charge and then retreat, while if it stays closed and compact you will have plenty of time to throw your entire ammo arsenal at it. If you can always decide when and how to engage and disengage the opponent, it becomes easy to decimate the dangerous units and then annihilate the others.
Mounted shooters are generally very vulnerable to shooting, so a strong long-range opponent could easily mess with your tactic: if you lose the long-range fight, you will be in a hurry, and cavalry are not designed to break through a wall well. positioned of infantry.
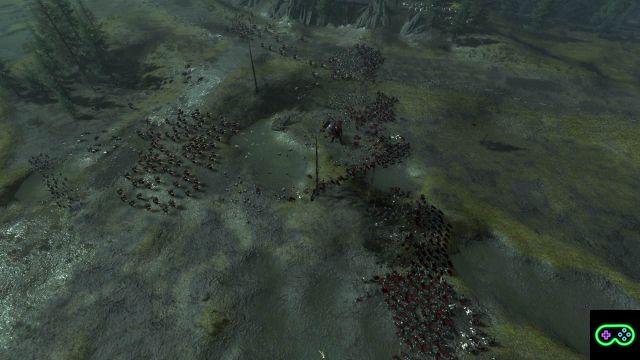
A highly mobile, shooting-based army can force a close combat enemy to lose position and disperse, only to be targeted one piece at a time.
Advanced commands
Group the units
In battle, the various units can be gathered in Groups, numbered from 1 to 10, to speed up their selection and control.
Create a Group:
- Select all the units you want to group;
- Press G to create a new Group and assign it the first free number; or
- Press Ctrl + a number from 1 to 0, to create a new group and assign it the typed number.
Manage Groups:
- Pressing the number corresponding to the Group will immediately select all the units that are part of it.
- To assign further units to an already existing Group, simply select the new units and press Ctrl + the Group number (this direct command does not work if the new units chosen were the only ones to make up another pre-existing Group).
- Selecting units belonging to a Group and pressing G will remove them from each Group.
Set up and block training
Regrouping units is useful for selection and control purposes, but alone does not alter their normal placement on the battlefield. This means that creating a Group 1 and selecting it by pressing 1 will have the exact same effect of selecting all the units in Group 1 one by one each time.
However, it is possible to order a Group of units to maintain their current formation as well; to do this, the Group must be created by pressing Ctrl + G (instead of just G), or by pressing the padlock icon next to the number of the Group itself when it already exists. In this way the units belonging to the Group will always move while maintaining their relative positions. If you select single units of the Group, you can still move them freely, but the formation that will remain memorized for the purposes of the Group will always be the one that you had at the time of the block (to change formation, therefore, you must remove the block, rearrange the drive and then re-insert the block).
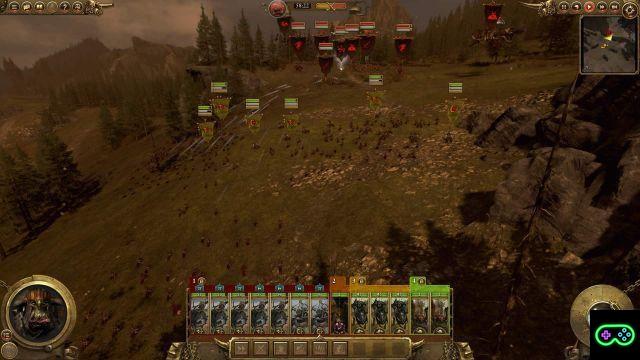
In parallel to this tool, the Groups also allow the quick and “simplified” creation of two schemes, one with the infantry in front and the shooters behind, and the other with the shooters in front and the infantry behind. Pressing one of the two relative icons will immediately arrange all the units of the Group according to this basic instruction, and then it will block the formation of the Group.
At the top the button to lock / unlock the formation of a Group, at the bottom the quick command for the formations "Front infantry" and "Front shooters".
Advanced Movement and Engagement Orders
Simply right-clicking isn't the only move or attack command you have. Once you have selected one or more units, you can use all the following controls to give complex and precise orders in a short time.
Running / running
With a right click one unit moves, with two in rapid sequence it runs; this is also explained in the tutorial of the game. Once a unit is in motion, in any way and for any reason, it can still be shifted from gear to run or vice versa by simply pressing the R key.
Forcing the melee
When you select a missile unit, you can order it to attack an enemy in close combat even if it hasn't run out of ammo yet. By pressing the corresponding button on the left in the bottom command bar (or the F key) the unit will henceforth treat all engagement orders as charge orders, rather than fire orders (pressing the button again or F will return in the normal state). Alternatively, holding the Alt key and ordering an engagement gives the order to forcibly attack in close combat, but without leaving that type of behavior memorized for subsequent orders.
Manual arrangement
You can hold down the right button on the battlefield to draw exactly the position, angle and width you want the units to go to. This command is extremely convenient, and first of all allows you to create a homogeneous and compact front very quickly if it is used with several selected units.
Translate the arrangement
If you hold down Alt and press the left mouse button, it is possible to “translate” on the battlefield all the selected units making them maintain the exact formation and orientation they previously possessed. While the left button is still pressed (at this point you can let go of Alt), pressing Ctrl also makes it possible to rotate the whole group to the right or left.
Movement in the wake
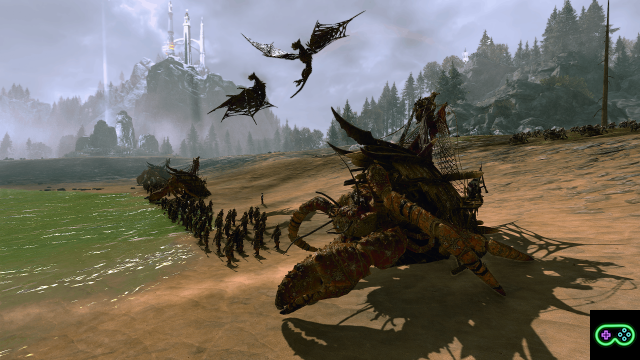
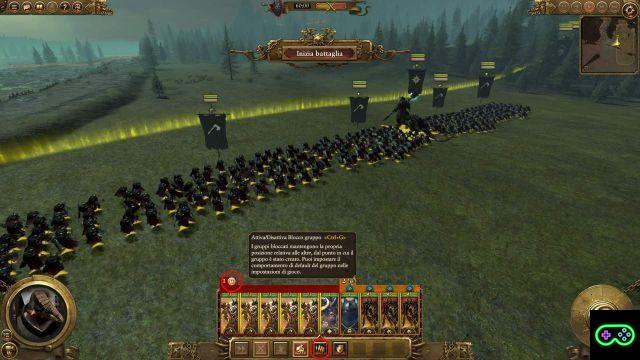
While holding Shift, you can press and hold the right mouse button while dragging it across the battlefield to draw the path you want the unit to follow with a curved line. If you let go of the mouse button when the cursor points to an enemy unit, the last portion of the command will be converted into an engagement order.
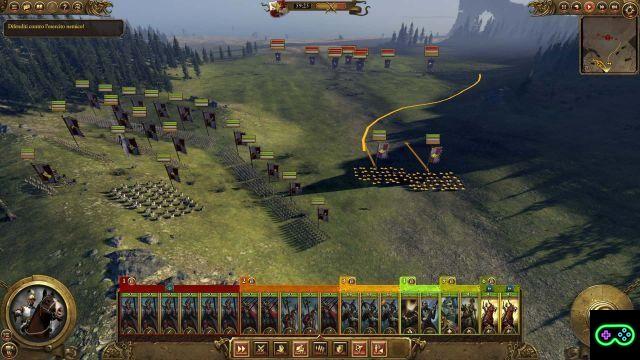
Example of a wake move order.
Order sequence
Still holding Shift, it is also possible to give several distinct orders of simple movement in sequence, so that they are respected in the order used. It is also possible to order a unit to move and then engage, or even engage several distinct enemy units, which will occur as the first ones are completely eliminated.
Precision maneuvers
With the four arrows you can order the selected units to move perfectly forward, sideways or backwards. The longer the arrow is held down, the further away the unit will be instructed to deploy. Similarly, holding Ctrl and pressing the left or right arrows rotates the entire formation, while with Ctrl and the forward and back arrows you can narrow or expand the ranks of each selected unit.
By pressing J it is also possible to order a change of face, always of the entire selected formation (this command is unfortunately not a change of face on the spot for each single unit chosen, but it is equivalent to a rotation of 180 ° using Ctrl + right / left arrow , then a group order).
— —